I turned a Raspberry Pi 5 into an actual SSD-powered PC for lower than $200
Abstract created by Sensible Solutions AI
In abstract:
- PCWorld demonstrates constructing a high-performance Raspberry Pi 5 pc with NVMe SSD storage for underneath $200, requiring the 8GB Pi 5, M.2 HAT, and appropriate energy provide.
- The SSD improve by way of PCI Specific connection dramatically improves boot pace and total efficiency in comparison with conventional micro SD card storage.
- This versatile setup serves a number of functions together with retro gaming, residence automation server, customized router, or experimental Linux studying platform.
The Raspberry Pi 5 is a number of instances quicker than earlier fashions of the compact and low-cost pc. For lower than a pair hundred bucks, you’ll be able to have a pc that may do many duties that beforehand required a daily PC, that consumes little or no energy, and for which the net is overflowing with thrilling tutorials and tasks you’ll be able to tackle.
On this information, I’ll first stroll you thru tips on how to construct a Raspberry Pi 5 with most efficiency so you need to use it for all the pieces it’s able to. To try this, you’ll must make the most of the board’s new capacity to attach an SSD by way of PCI Specific.
Additional studying: 10 surprisingly sensible Raspberry Pi tasks anyone can do
Right here’s what you want
To totally observe this information, you will have the next {hardware}:
- Raspberry Pi 5 (8GB for optimum efficiency, however you’ll be able to select 2- or 4GB as properly)
- A so-called “hat” (a sort of daughterboard known as HAT that attaches to the highest of the Raspberry Pi) with an M.2 slot (I selected the Waveshare POE M.2 HAT however there are a number of others)
- A cooler — usually comes with the HAT
- NVMe-based SSD in M.2 format
- MicroSD card of at the least 8GB or a USB adapter for the M.2 SSD for the set up
- Micro HDMI to HDMI cable to attach show
Anders Lundberg
Additionally, you will want an influence supply, both a USB charger that helps USB-PD and a USB-C cable or the official charger from Raspberry Pi. Should you’re going to make use of USB equipment with out exterior energy, the charger ought to have the ability to deal with at the least 25 watts, in any other case 15 watts is sufficient. You need to have the ability to construct the whole PC for underneath $200 if you happen to go for the 2GB Raspberry Pi 5 and a 256GB or 512GB SSD, however costs climb if you happen to’re searching for extra spacious variations. The AI-fueled RAM and storage disaster is making client {hardware} painfully costly.
Along with the above, you will have a mouse, keyboard, and a monitor — in any other case you’ll have to join utilizing SSH in Terminal and make all settings by way of textual content instructions. In case you are later going to make use of the pc as a server of some kind, these are now not wanted and you’ll join utilizing SSH or VNC to make modifications.
Additional studying: Raspberry Pi: The most effective newbie tasks
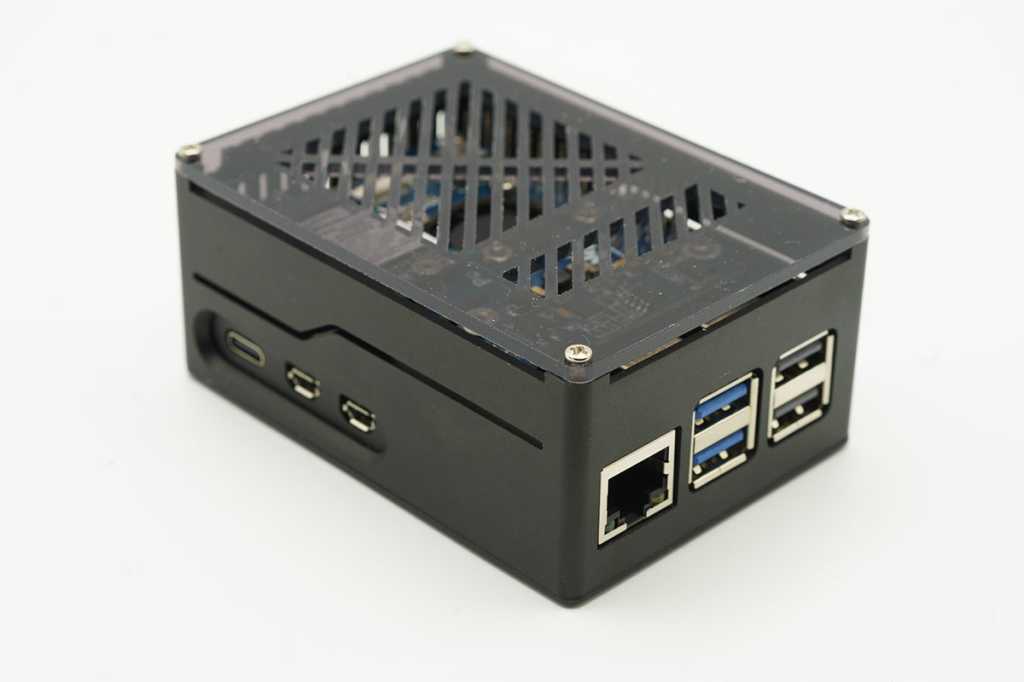
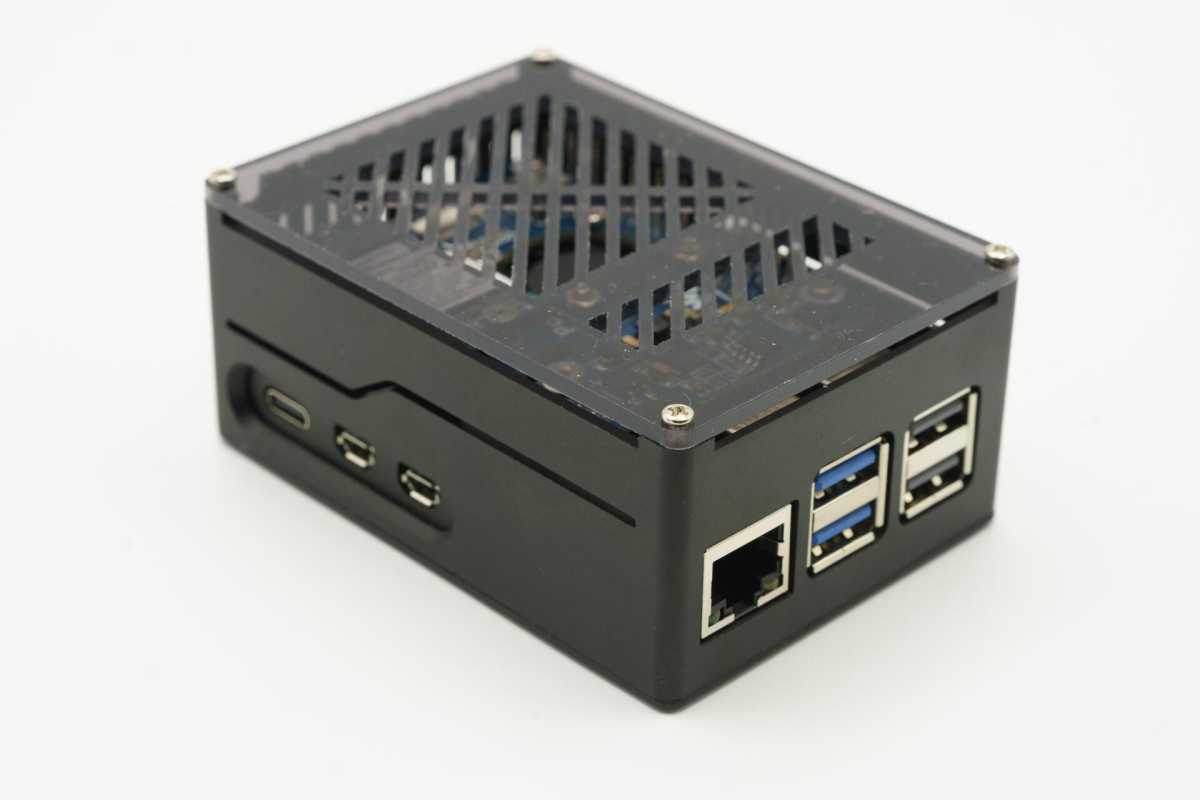
It’s not a should, however I like to recommend getting a chassis for the pc. It protects towards mud and reduces the chance of harm from static electrical energy. A chassis additionally makes the Raspberry Pi look extra like an entire pc and never only a circuit board.
Foundry
Putting in the working system
Right here you could have two choices. You probably have a USB adapter for M.2 SSDs, you’ll be able to plug your SSD into it and set up the system instantly onto it. Should you don’t, you need to use a Micro SD card as an alternative and clone the system to the SSD as soon as the Raspberry Pi is up and operating.
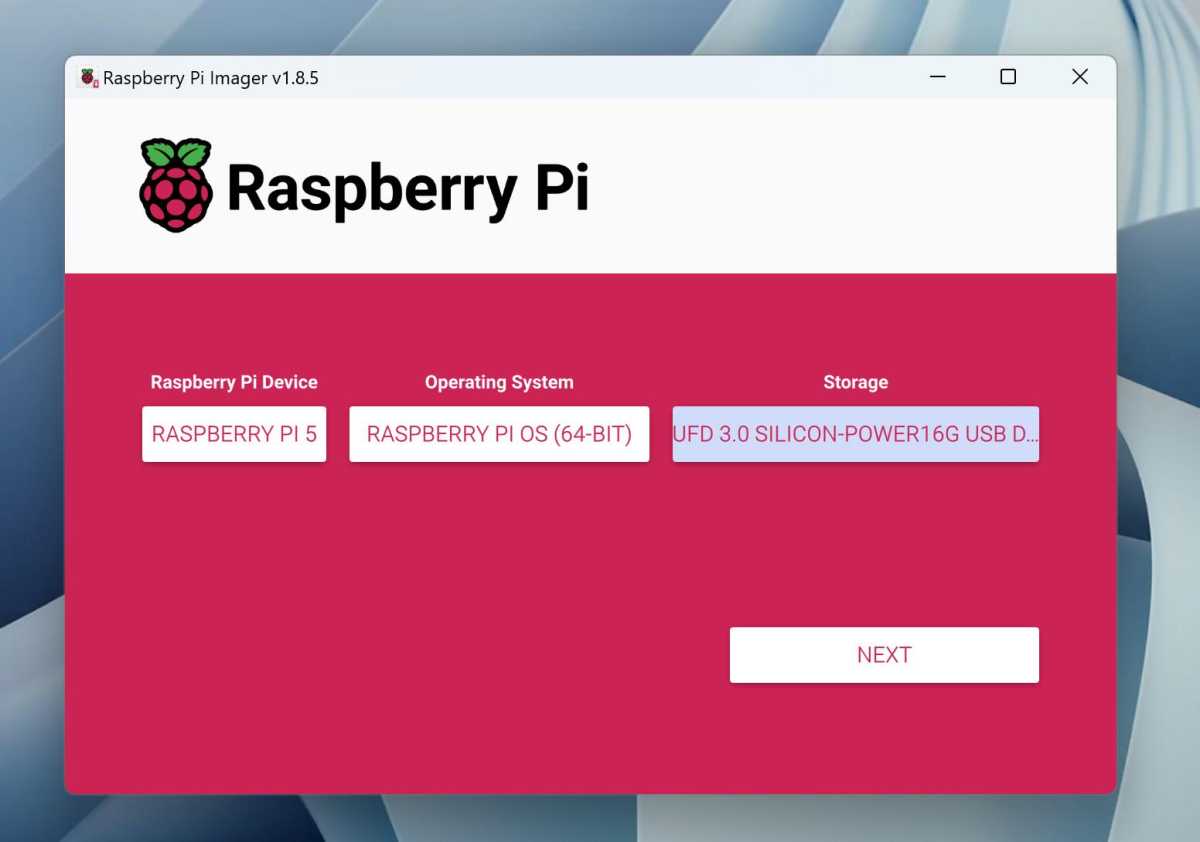
Whichever manner you select, begin by downloading and putting in Raspberry Pi Imager, a program that makes it straightforward to put in the working system for the tiny pc.
As soon as it’s up and operating, choose the Raspberry Pi 5 for the system on the left, the Raspberry Pi OS (64-bit) within the center, and your new SSD or Micro SD card on the suitable. Double-check that you simply get the suitable disc so that you don’t unintentionally erase an exterior exhausting drive or SSD if utilizing along with your common pc.
Foundry
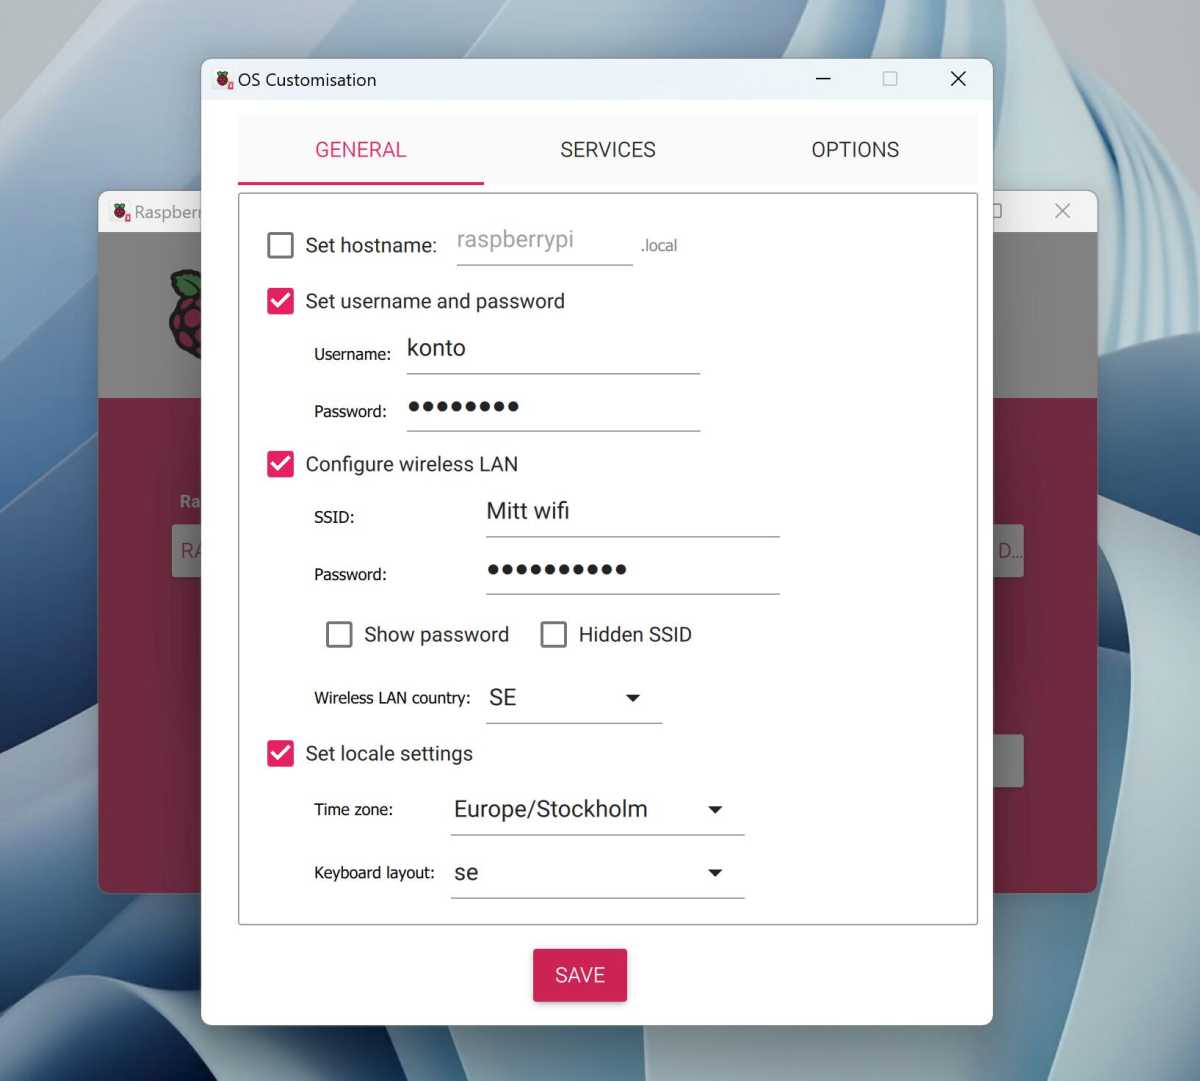
Then click on Subsequent and choose Edit Settings. These settings make it simpler to get began, and so they’re saved so that you don’t must fill them in once more if you wish to reinstall the system later. For instance, you’ll be able to choose the time zone and enter the title and password of your wi-fi community. You probably have an SSH key in your pc and need to join remotely with no password, you’ll be able to tick Allow SSH underneath Companies and enter your public key.
If you save and transfer on, this system will ask one final time in case you are positive you need to delete all content material on the chosen goal. After that, it’s going to set up the system and verify that all the pieces was performed accurately.
Assembling the pc
Step one is after all to place the elements collectively. There aren’t many so it shouldn’t take too lengthy, however if you happen to’re not used to tinkering with pc elements, there are some things to bear in mind.
Maybe a very powerful is to keep away from static electrical energy, which within the worst case can burn the delicate circuitry. Don’t stroll across the room whereas holding the circuit board, particularly not on carpet. Use the field it got here in or an anti-static bag to maneuver it.
Floor your self earlier than touching the circuit board, for instance by touching a component or the steel casing of a grounded electrical product. Even safer is to get a so-called ESD wrist strap and observe the directions.
Anders Lundberg
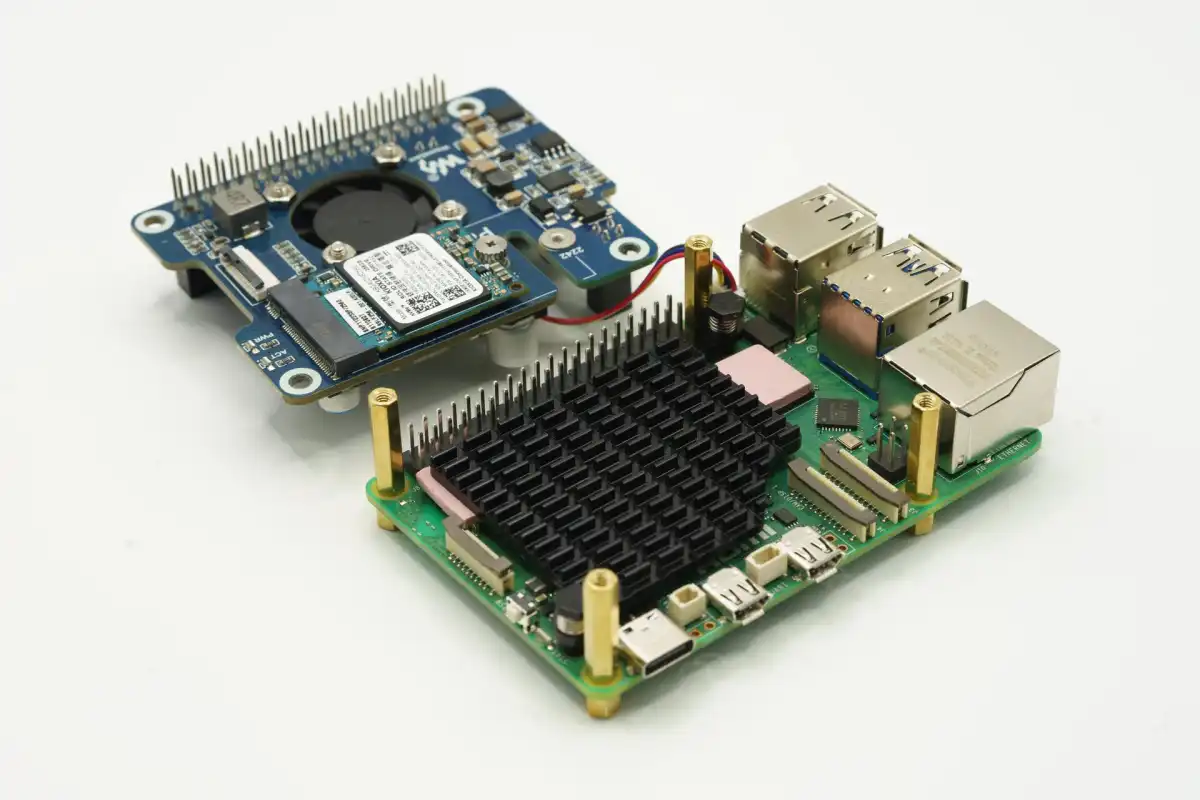
Begin by screwing on the 4 stands for the HAT the place the SSD is mounted. They need to be included and are normally manufactured from brass, with a small screw that ought to sit on the underside of the circuit board.
Then connect the cooling pads that include the cooler to the varied circuits and mount the cooler in keeping with the directions supplied. The cooler is pressed into place with two spring-loaded pins in particular holes on the PCB.
Additional studying: Raspberry Pi troubleshooting: Useful fixes to frequent issues
Connect the SSD to the HAT after which fastidiously set up the HAT so that each one pins are within the right place. If the M.2 HAT you could have bought has a built-in fan, you first want to connect it to the connector labelled FAN, which is positioned behind the outer USB connectors. Gently push the HAT into place and screw it on with the equipped screws.
Anders Lundberg
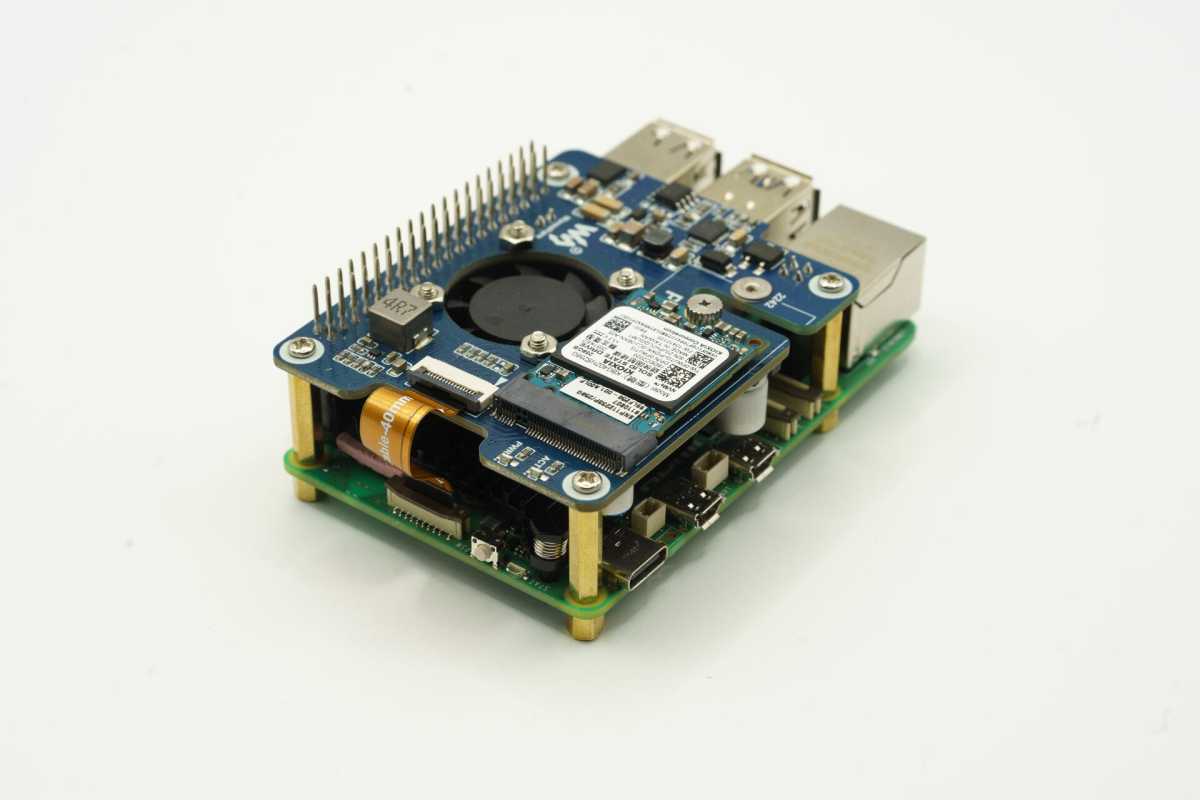
The subsequent step is to connect the small cable tie between the HAT and the devoted PCI Specific connector on the Raspberry Pi. Gently loosen the fasteners (a brown plastic piece on the Raspberry Pi, could look a bit of completely different on completely different HATs) and insert the ribbon. There are little white arrows displaying which manner is true — you’ll be able to see the way it ought to look within the photos above. Push again the fasteners to carry the band in place.
The final step is to mount the pc within the chassis, you probably have one.
Foundry
The primary begin
Now it’s time to see if all the pieces went proper. Join the monitor, mouse, and keyboard after which plug within the USB cable for energy. The Raspberry Pi doesn’t have an on/off swap, so the pc will begin up instantly (nonetheless, some energy adapters designed for Raspberry Pi have a built-in swap).
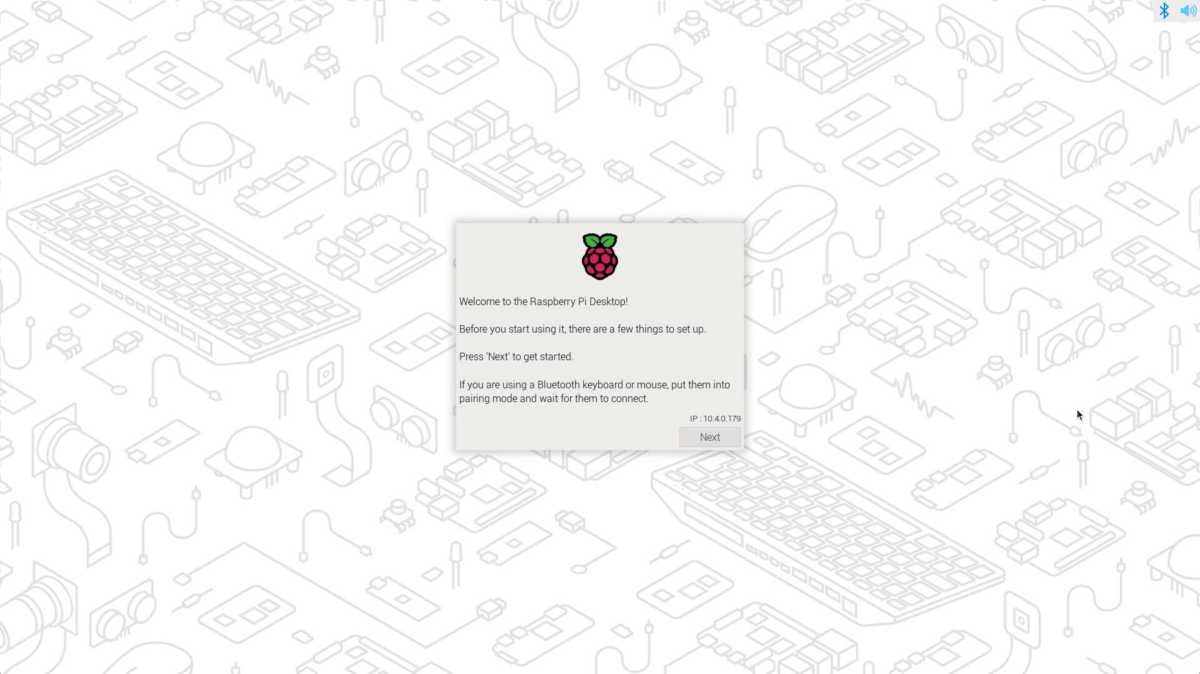
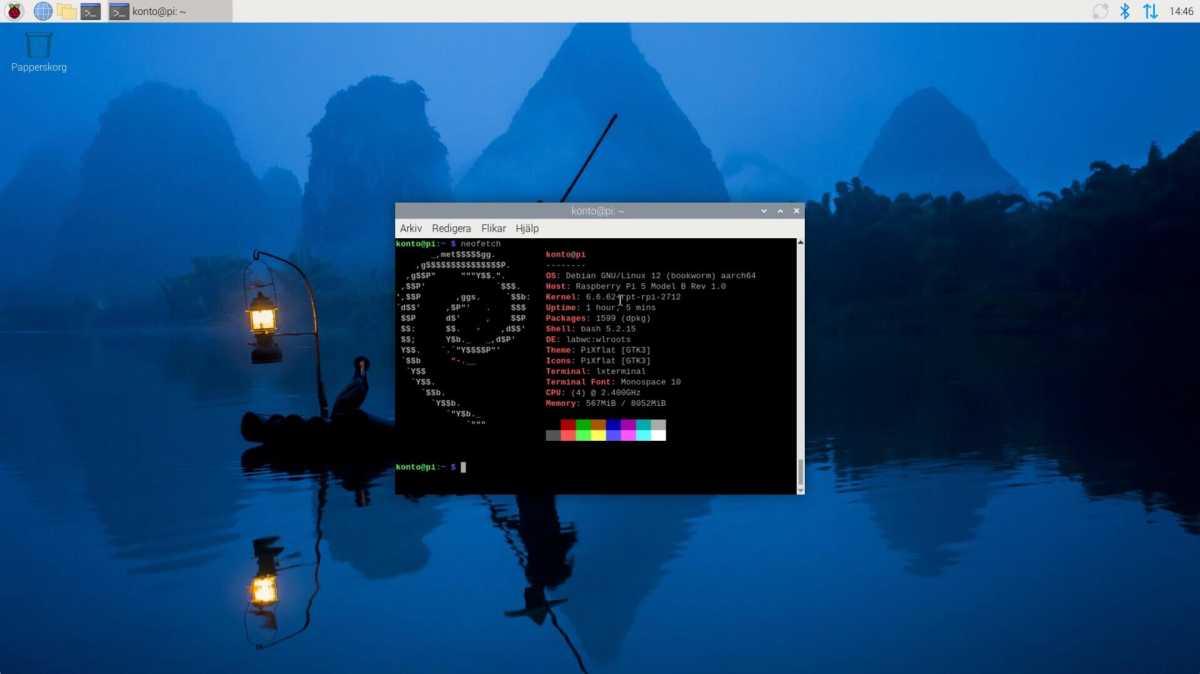
If all has gone properly, you’ll quickly be greeted by the Raspberry Pi OS welcome display screen and might begin going via the essential settings. Should you didn’t fill in a brand new account title and password throughout set up, you must accomplish that right here. When you’re performed with the settings, the system will verify for and set up the newest updates earlier than letting you into the desktop.
Foundry
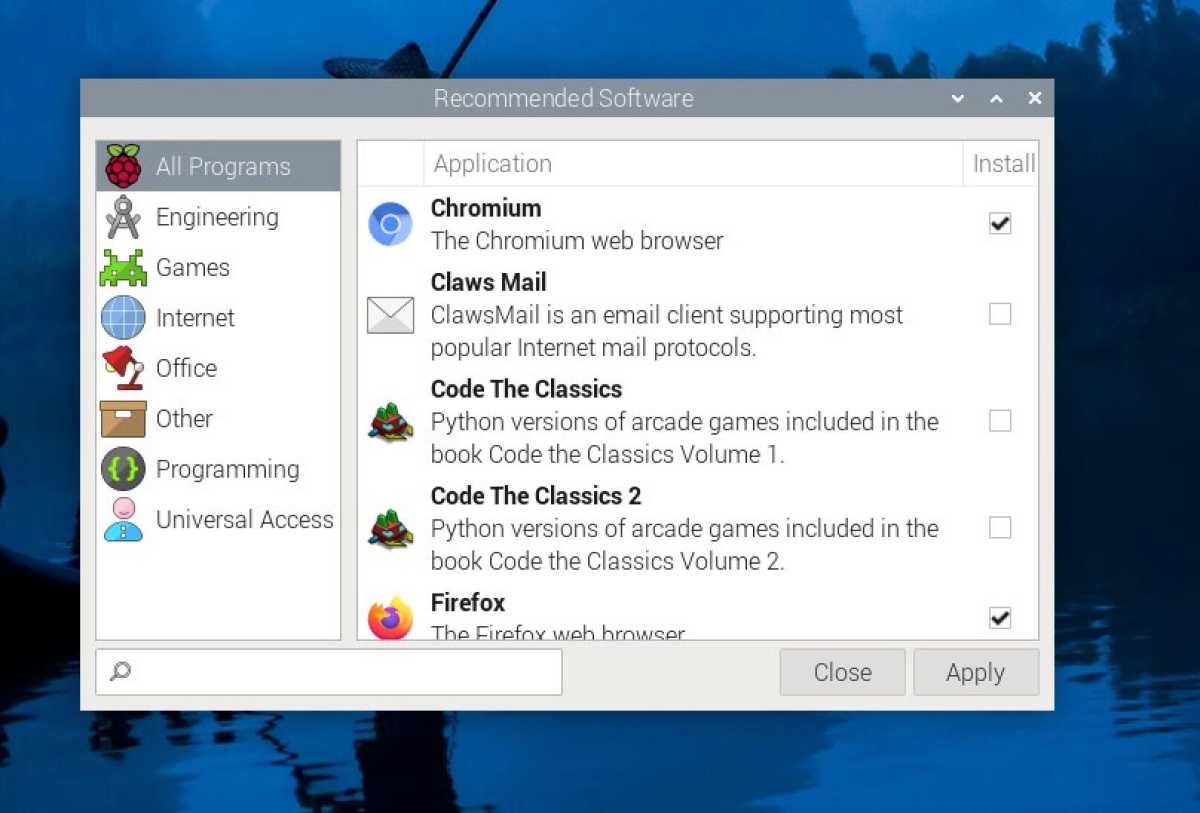
Now you’ll be able to mainly begin utilizing the Raspberry Pi as a easy desktop pc. Firefox and Chromium are pre-installed and you’ll set up different software program by clicking on the Raspberry Pi icon within the top-left and choosing Settings > Beneficial Software program.
On the top-right you will notice shortcuts to Bluetooth and Wi-Fi settings and out there updates.
Earlier than we go any additional, I counsel you make a small change by way of the terminal in order that the SSD can make the most of its most pace. Click on on the terminal icon on the top-left and kind the next command:
sudo nano/boot/firmware/config.txt
Scroll to the underside and add the next textual content (which allows PCIe 3.0):
# Change PCIe pace to gen 3dtparam=pciex1dtparam=pciex1_gen=3
Foundry
Then press Ctrl-O, Return, Ctrl-X to save lots of and shut the file. Then kind in:
sudo rpi-eeprom-config --edit
Change the road with BOOT_ORDER to:
BOOT_ORDER=0xf416
Press Ctrl-O, Return, Ctrl-X once more and the file might be saved and the system will overwrite the firmware settings in order that the pc will want as well from SSD even when an SD card is in place with working system.
Should you put in the system on a Micro SD card, it’s now time to clone the system to the SSD. Kind the next instructions one after the other within the terminal:
git clone rpi-clonesudo cp rpi-clone rpi-clone-setup /usr/native/sbinsudo rpi-clone nvme0n1So long as you could have linked the SSD and HAT accurately, the final command will ask if you happen to actually need to delete all content material on the goal. If you agree, it’s going to maintain for some time whereas it copies over all of the content material from the SSD card to the SSD.
Foundry
As soon as full, you’ll be able to shut down by clicking the Raspberry Pi button > Logout > Shutdown. Then take away the Micro SD card and reboot by unplugging and plugging within the energy cable (or with the ability swap in case your cable has it). If all has gone properly, the pc will restart properly and is considerably faster due to the quicker storage.
Different thrilling equipment
After all, an M.2 SSD cap isn’t the one fascinating accent for the Raspberry Pi. There are numerous different equipment for various makes use of, which might open up the pc to new functions. Listed below are some examples:
Energy-over-Ethernet (PoE)
Which means the pc is powered by way of community cable as an alternative of USB-C. You probably have a swap with PoE and have wired your house, you’ll be able to place the Raspberry Pi at an out there community socket and never want one other cable — good if you happen to’re utilizing it as a server. The M.2 cap I selected myself (see above) has built-in PoE performance.
Waveshare
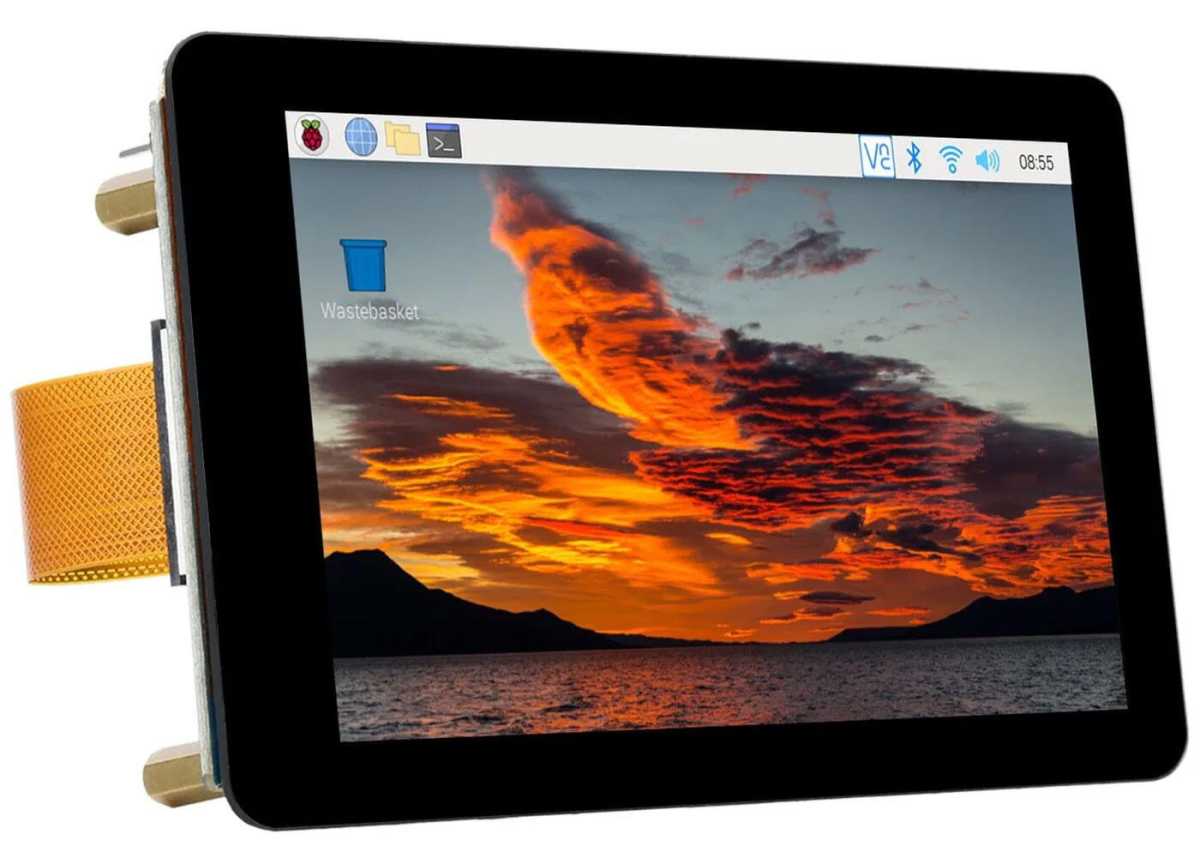
Show
There are an enormous variety of different-sized screens for direct connection to the small pc. Starting from tiny screens that may show data to comparatively massive contact screens, for instance.
Sensors
Raspberry Pi could be became an indoor climate station that displays the air high quality in your house. Not the most affordable resolution, however an thrilling challenge.
Raspberry Pi
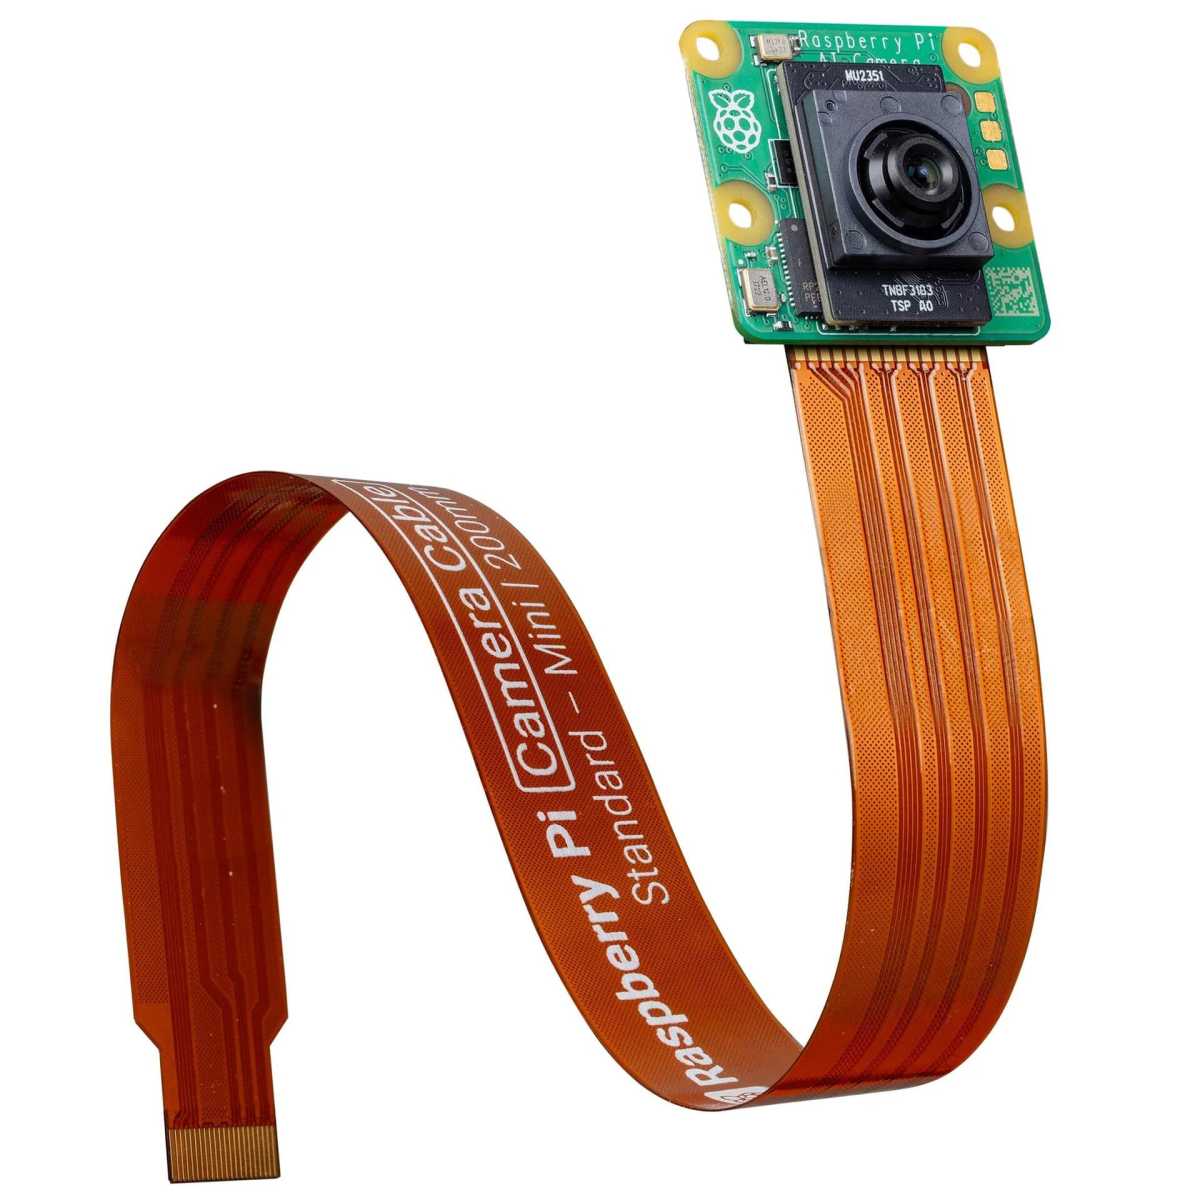
Cameras
A standard challenge with Raspberry Pi is a home-built surveillance digital camera that may then be used with Dwelling Assistant. There are a plethora of digital camera modules, together with one with a built-in AI accelerator that may acknowledge individuals, for instance.
Sound card
Many individuals use the Raspberry Pi as a music server, linked to a speaker system. The pc has no built-in audio outputs (besides by way of HDMI), however there are a variety of “HATs” with each RCA and three.5-millimeter connectors and optical audio-out. One instance is the Raspberry Pi DAC Professional.
There are additionally easy amplifiers so you’ll be able to join analog audio system on to the pc, such because the Hifiberry Amp4 Professional.
An alternative choice is a USB sound card, corresponding to Apple’s USB-C headphone adapter which has a very good DAC.
5 good methods to make use of the Raspberry Pi 5

52pi
Retro gaming pc
The Raspberry Pi is ideal as a small video games console that emulates basic console video games from the Nineteen Eighties and Nineteen Nineties. It can additionally emulate newer consoles such because the Nintendo Gamecube and Wii, however the efficiency will not be fairly sufficient on the Raspberry Pi 5. Batocera is presently the perfect platform and also you obtain it as a disc picture you could write to Micro SD playing cards (at the least 16 gigabytes) or on to the SSD with the Raspberry Pi Imager. Set up information could be discovered right here.
Server for residence automation
Set up Dwelling Assistant and immediately the Raspberry Pi 5 turns into the proper server to energy all of your good residence devices. Join a Zigbee radio with USB and you’ll join, for instance, Ikea devices while not having the Ikea app. Inbuilt Wi-Fi and Bluetooth are additionally helpful. Observe the information right here.
For these with an iPhone or iPad: Airplay receiver for streaming music
Play music from any streaming service on any outdated audio system utilizing Raspberry Pi as an Airplay receiver. This isn’t one thing that requires a Raspberry Pi 5, however works properly on different Pi fashions too, such because the Raspberry Pi Zero 2 W. All you want is a few kind of sound card (see above) and a bit of persistence within the terminal. Poolside Manufacturing unit has a information — you simply want to make use of the instructions within the grey field underneath Choice 2: Airplay 2.
The builders of the Shairport-Sync server software program have a information to selecting an audio system which can be helpful you probably have bought a HAT with a DAC.
Router (Openwrt)
If you wish to use various router software program however have a router that doesn’t assist it, you’ll be able to strive constructing your individual utilizing Raspberry Pi and the Openwrt working system. With an additional Ethernet adapter for USB, you get one connector for WAN (web) and one for LAN (your native community). Dwelling Community Man has a video information you’ll be able to observe right here. You’ll be able to then arrange your outdated router to behave as a Wi-Fi entry level — your pc’s inbuilt Wi-Fi will not be designed to behave as an entry level. An alternative choice is IP Fireplace — here’s a information to that.
Anders Lundberg
Experimental pc
Study to make use of Linux with out altering the system in your common pc. Study to code with Python. Get began with {hardware} management with numerous equipment that management LEDs, motors, and extra. Raspberry Pi is the proper platform for experimenting.
This text initially appeared on our sister publication PC för Alla and was translated and localized from Swedish.